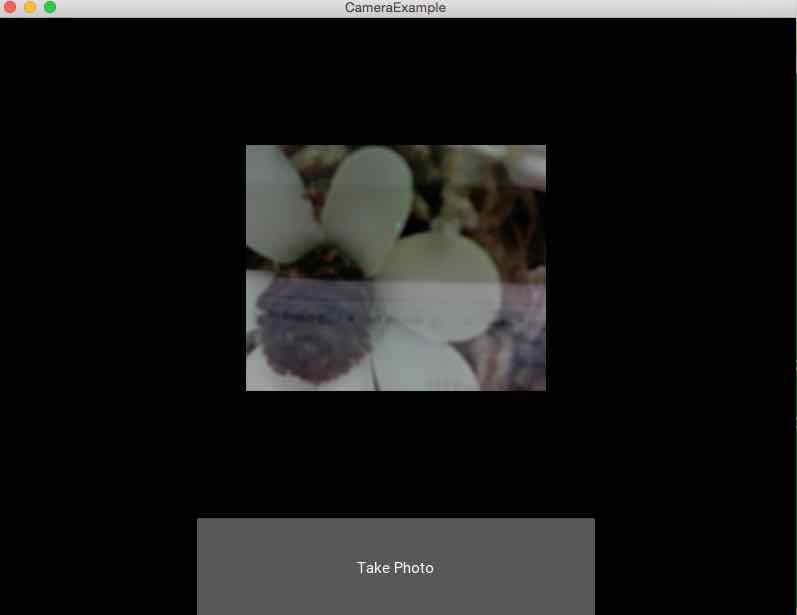
Overview:
- Kivy has a class Camera that abstracts the cameras in a mobile device.
- The camera of the mobile device can be started and stopped programmatically using Kivy.
- The Camera class provides customizations that include
- Selecting a camera from a list of cameras available using an index
- Specifying a resolution for the camera
- Once the right camera is selected using the index and camera is made to play the live video with the attribute play = True, calling the widget base class method export_to_png() on the camera object will save the current frame of the video to a PNG file.
Example:
|
from kivy.app import App
from kivy.uix.camera import Camera from kivy.uix.boxlayout import BoxLayout from kivy.uix.button import Button
class CameraExample(App):
def build(self): layout = BoxLayout(orientation='vertical')
# Create a camera object self.cameraObject = Camera(play=False) self.cameraObject.play = True self.cameraObject.resolution = (300, 300) # Specify the resolution
# Create a button for taking photograph self.camaraClick = Button(text="Take Photo") self.camaraClick.size_hint=(.5, .2) self.camaraClick.pos_hint={'x': .25, 'y':.75}
# bind the button's on_press to onCameraClick self.camaraClick.bind(on_press=self.onCameraClick)
# add camera and button to the layout layout.add_widget(self.cameraObject) layout.add_widget(self.camaraClick)
# return the root widget return layout
# Take the current frame of the video as the photo graph def onCameraClick(self, *args): self.cameraObject.export_to_png('/kivyexamples/selfie.png')
# Start the Camera App if __name__ == '__main__': CameraExample().run() |
Output:
