What is Hexagonal Binning?
- The XY plane of the graph is made as a tightly packed grid of hexagons.
- The number of data points (x,y), falling within each hexagon is counted
- The hexagons are painted with a color range in proportion to the count of data points inside them
- In some schemes, the empty bin is marked with a distinct color like white.
Why Hexagonal Binning required:
- We know that a scatter plot is drawn by marking x,y positions using a marker on a 2D plane.
- The scatter plot is used to find distribution, range, outliers and clusters in a dataset.
- However, finding range or identifying clusters becomes difficult to impossible when the data points remain very close to each other and data is scattered all around the scatter plot.
- To easily identify ranges, patterns and clusters in the scatter plot of a large sized data, Hexagonal binning is used.
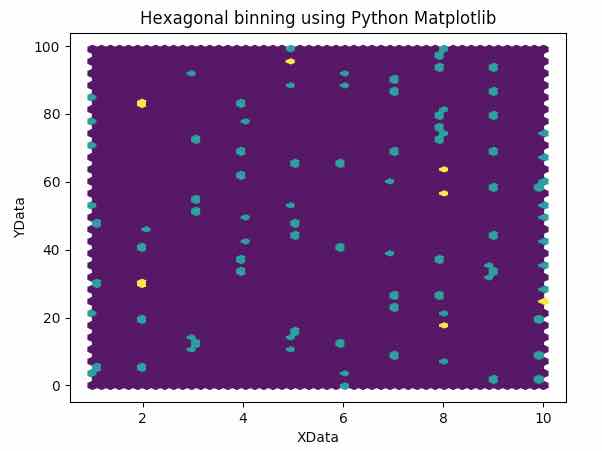
Hexagonal binning using Python Matplotlib:
- The function hexbin() in Matplotlib.pyplot() is used for plotting data with Hexagonal binning.
Example:
|
import matplotlib.pyplot as plot import numpy as np
# Set the random seed for data generation using numpy np.random.seed(1)
# Create random X data using numpy random module xData = np.random.random_integers(1, 10, 100)
# Create random Y data using numpy random module #yData = np.random.random_integers(1, 50, 500) yData = np.arange(0, 100, 1)
# Plot the hexbin using the data genererated by numpy plot.hexbin(xData, yData, gridsize=50)
# Provide the title for the plot plot.title('Hexagonal binning using Python Matplotlib')
# Give x axis label for the spike raster plot plot.xlabel('XData')
# Give y axis label for the spike raster plot plot.ylabel('YData')
# Display the plot plot.show() |
Output: